目录
FFmpeg是一个强大的开源多媒体框架,能够处理音频、视频的录制、转换和流化处理。本文将详细介绍如何在C#项目中集成和使用FFmpeg来处理视频提取相关的任务。
环境准备
FFmpeg安装
首先需要在系统中安装FFmpeg。有以下几种方式:
通过官网下载:FFmpeg官方网站
HTMLhttps://ffmpeg.org/download.html
NuGet包安装
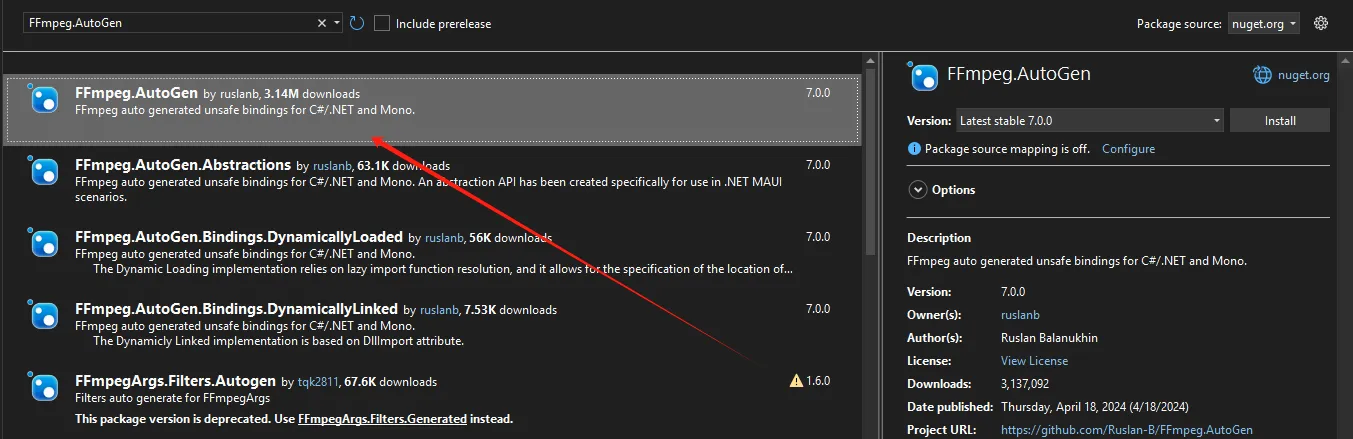
在C#项目中,我们需要安装FFmpeg包装器。推荐使用以下NuGet包:
XML<PackageReference Include="FFmpeg.AutoGen" Version="7.0.0" />
基础知识
在开始编码之前,需要了解一些基本概念:
- 容器格式:如MP4、AVI、MKV等
- 编解码器:如H.264、VP9等
- 流:视频流、音频流、字幕流等
代码实现
基础类设置
检测是否正确安装了ffmpeg
C#public class FFmpegVideoExtractor
{
    private readonly string _ffmpegPath;

    public FFmpegVideoExtractor(string ffmpegPath)
    {
        _ffmpegPath = ffmpegPath;
    }

    // 检查FFmpeg是否正确安装
    public bool CheckFFmpegInstallation()
    {
        try
        {
            using var process = new Process();
            process.StartInfo = new ProcessStartInfo
            {
                FileName = _ffmpegPath,
                Arguments = "-version",
                RedirectStandardOutput = true,
                UseShellExecute = false,
                CreateNoWindow = true
            };

            process.Start();
            string output = process.StandardOutput.ReadToEnd();
            process.WaitForExit();

            return output.Contains("ffmpeg version");
        }
        catch
        {
            return false;
        }
    }
}
C#namespace App04
{
    internal class Program
    {
        static void Main(string[] args)
        {
            FFmpegVideoExtractor fFmpegVideoExtractor = new FFmpegVideoExtractor("D:\\Software\\ffmpeg-master-latest-win64-gpl-shared\\bin\\ffmpeg.exe");
            var result = fFmpegVideoExtractor.CheckFFmpegInstallation();
            Console.WriteLine(result);
            Console.ReadKey();
        }
    }
}

视频提取核心功能
C#public class VideoExtractor
{
    private readonly string _ffmpegPath;

    public VideoExtractor(string ffmpegPath)
    {
        _ffmpegPath = ffmpegPath;
    }

    /// <summary>
    /// 提取视频片段
    /// </summary>
    /// <param name="inputPath">输入视频路径</param>
    /// <param name="outputPath">输出视频路径</param>
    /// <param name="startTime">开始时间(格式:HH:mm:ss)</param>
    /// <param name="duration">持续时间(格式:HH:mm:ss)</param>
    /// <returns>提取是否成功</returns>
    public async Task<bool> ExtractVideoSegmentAsync(
        string inputPath,
        string outputPath,
        string startTime,
        string duration)
    {
        try
        {
            var arguments = $"-i \"{inputPath}\" -ss {startTime} -t {duration} " +
                          $"-c:v copy -c:a copy \"{outputPath}\"";

            using var process = new Process
            {
                StartInfo = new ProcessStartInfo
                {
                    FileName = _ffmpegPath,
                    Arguments = arguments,
                    RedirectStandardError = true,
                    RedirectStandardOutput = true,
                    UseShellExecute = false,
                    CreateNoWindow = true
                }
            };

            var outputBuilder = new StringBuilder();
            var errorBuilder = new StringBuilder();

            process.OutputDataReceived += (sender, e) =>
            {
                if (e.Data != null)
                    outputBuilder.AppendLine(e.Data);
            };

            process.ErrorDataReceived += (sender, e) =>
            {
                if (e.Data != null)
                    errorBuilder.AppendLine(e.Data);
            };

            process.Start();
            process.BeginOutputReadLine();
            process.BeginErrorReadLine();
            await process.WaitForExitAsync();

            return process.ExitCode == 0;
        }
        catch (Exception ex)
        {
            Console.WriteLine($"视频提取过程中发生错误: {ex.Message}");
            return false;
        }
    }
}
使用示例
C#namespace App04
{
internal class Program
{
static async Task Main(string[] args)
{
// FFmpeg路径配置
string ffmpegPath = @"D:\Software\ffmpeg-master-latest-win64-gpl-shared\bin\ffmpeg.exe";
// 创建提取器实例
var extractor = new VideoExtractor(ffmpegPath);
// 提取视频片段
bool success = await extractor.ExtractVideoSegmentAsync(
inputPath: @"D:\Video\1.mp4",
outputPath: @"D:\output.mp4",
startTime: "00:00:10",
duration: "00:00:30"
);
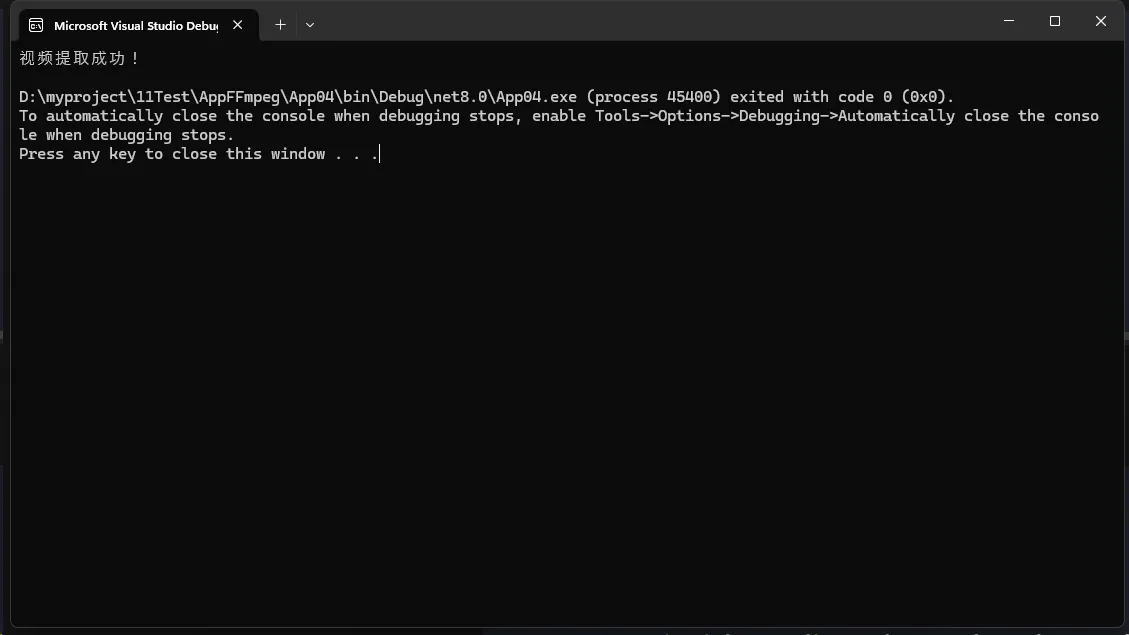
if (success)
{
Console.WriteLine("视频提取成功!");
}
else
{
Console.WriteLine("视频提取失败!");
}
}
}
}
提取从10秒开始,30秒的视频
进阶用法
提取特定编码格式
C#/// <summary>
/// 提取特定编码格式
/// </summary>
/// <param name="inputPath"></param>
/// <param name="outputPath"></param>
/// <param name="videoCodec"></param>
/// <param name="audioCodec"></param>
/// <returns></returns>
public async Task<bool> ExtractWithSpecificCodec(
    string inputPath,
    string outputPath,
    string startTime,
    string duration,
    string videoCodec = "libx264",
    string audioCodec = "aac")
{
    try
    {
        var arguments = $"-i \"{inputPath}\" " +
            $" -ss {startTime} -t {duration}  -c:v {videoCodec} -c:a {audioCodec} \"{outputPath}\"";
        using var process = new Process
        {
            StartInfo = new ProcessStartInfo
            {
                FileName = _ffmpegPath,
                Arguments = arguments,
                RedirectStandardError = true,
                RedirectStandardOutput = true,
                UseShellExecute = false,
                CreateNoWindow = true
            }
        };

        var outputBuilder = new StringBuilder();
        var errorBuilder = new StringBuilder();

        process.OutputDataReceived += (sender, e) =>
        {
            if (e.Data != null)
                outputBuilder.AppendLine(e.Data);
        };

        process.ErrorDataReceived += (sender, e) =>
        {
            if (e.Data != null)
                errorBuilder.AppendLine(e.Data);
        };

        process.Start();
        process.BeginOutputReadLine();
        process.BeginErrorReadLine();
        await process.WaitForExitAsync();

        return process.ExitCode == 0;
    }
    catch (Exception ex)
    {
        Console.WriteLine($"视频提取过程中发生错误: {ex.Message}");
        return false;
    }
}
提取并调整视频质量
C#public async Task<bool> ExtractWithQuality(
    string inputPath,
    string outputPath,
    int videoBitrate = 2000,  // kbps
    int audioBitrate = 128)   // kbps
{
    var arguments = $"-i \"{inputPath}\" -b:v {videoBitrate}k -b:a {audioBitrate}k \"{outputPath}\"";
    // 实现过程类似基础提取方法
    // ...
}
提取并调整分辨率
C#public async Task<bool> ExtractWithResolution(
    string inputPath,
    string outputPath,
    int width,
    int height)
{
    var arguments = $"-i \"{inputPath}\" -vf scale={width}:{height} \"{outputPath}\"";
    // 实现过程类似基础提取方法
    // ...
}
进度报告
C#public class ProgressEventArgs : EventArgs
{
    public double Percentage { get; set; }
    public TimeSpan CurrentTime { get; set; }
    public TimeSpan TotalTime { get; set; }
}

public event EventHandler<ProgressEventArgs> ProgressChanged;
总结
本文详细介绍了如何在C#中使用FFmpeg进行视频提取操作。从基础环境搭建到高级特性实现,提供了完整的解决方案。在实际应用中,建议根据具体需求选择合适的功能进行实现,并注意性能优化和错误处理。
参考资料
本文作者:技术老小子
本文链接:
版权声明:本博客所有文章除特别声明外,均采用 BY-NC-SA 许可协议。转载请注明出处!
目录